This Easy DIY Radiator Cover Shelf is a quick project that makes a big impact. For less than five dollars, you can create a beautiful floating shelf that covers the top of your radiator to use for decorating. And the best part is that this project is no build! All you need is wood glue!
This DIY Radiator Cover Shelf is a project that I wish I had done years ago. I am not sure what I was holding out for! The warmth of the wood and stain add so much character and fit with our 1oo year old home. I love that it gives an extra space for decorating as well! I made two radiator shelves, one for the foyer and one for the dining room.
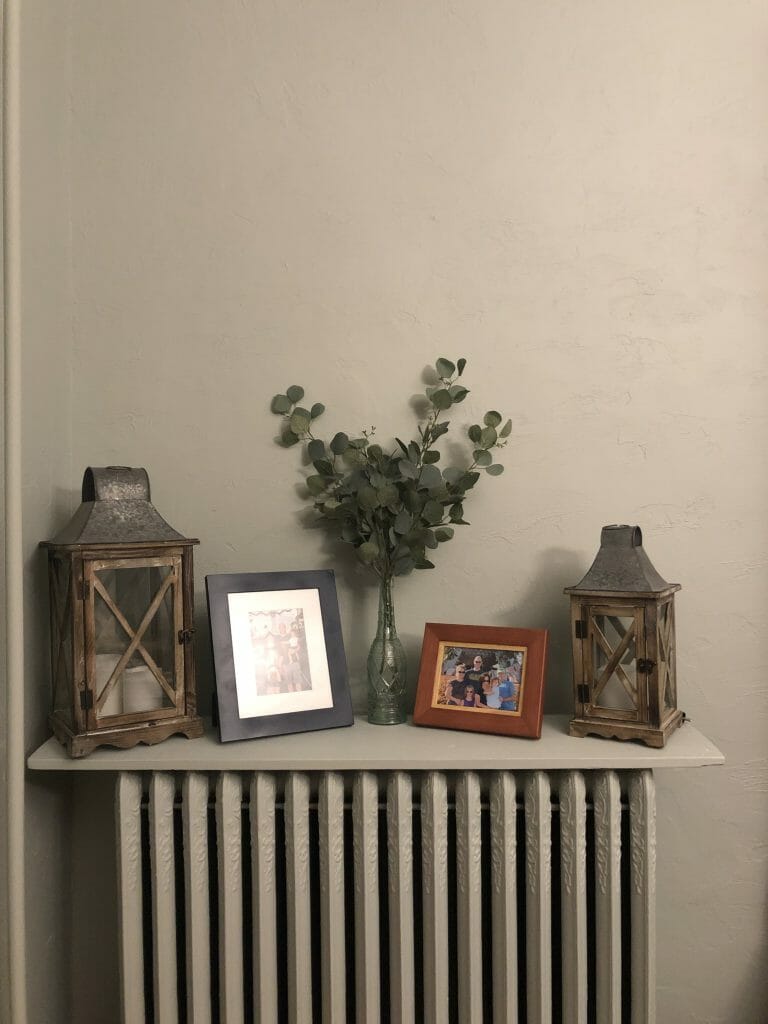
Here is the before with just a piece of painted wood on top of the radiator in the dining room.
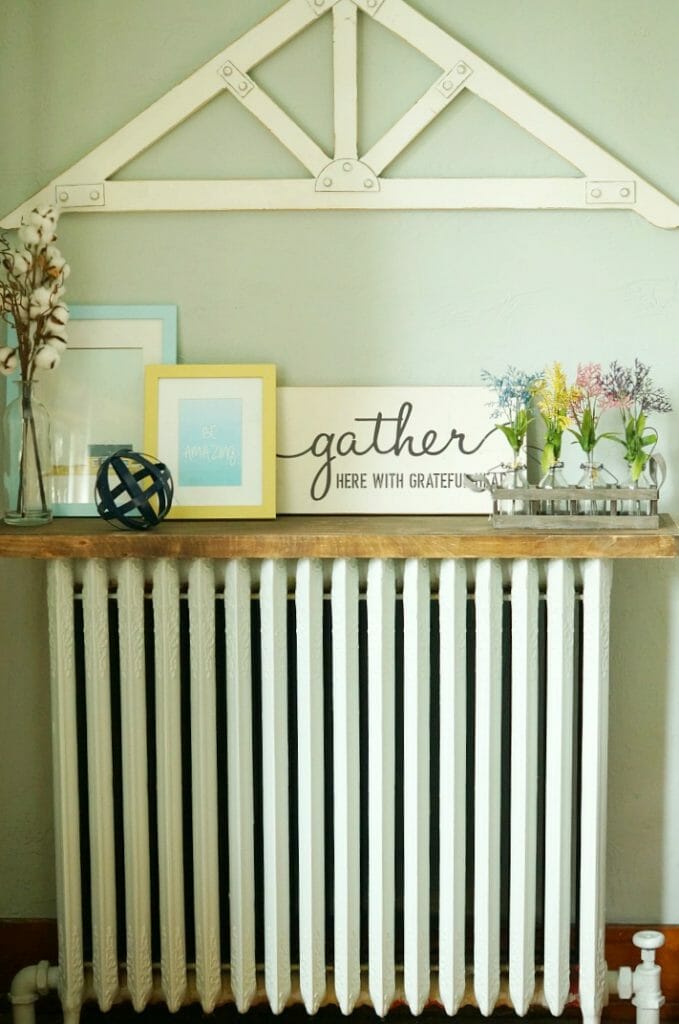
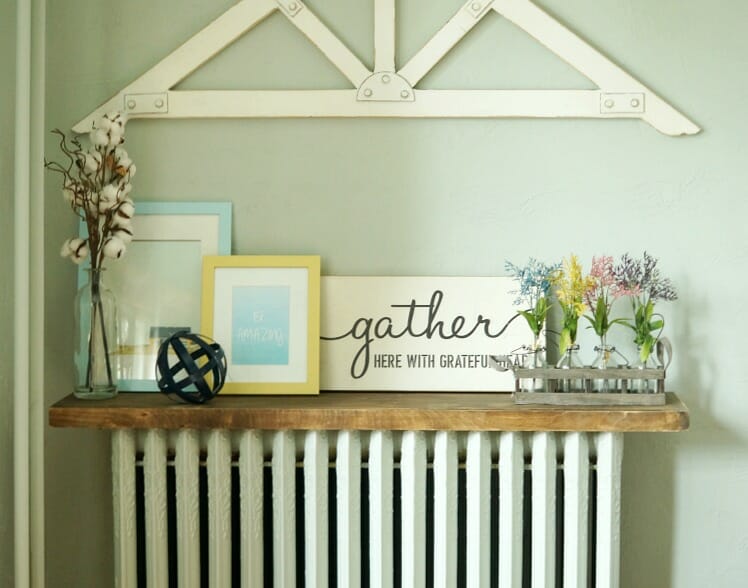
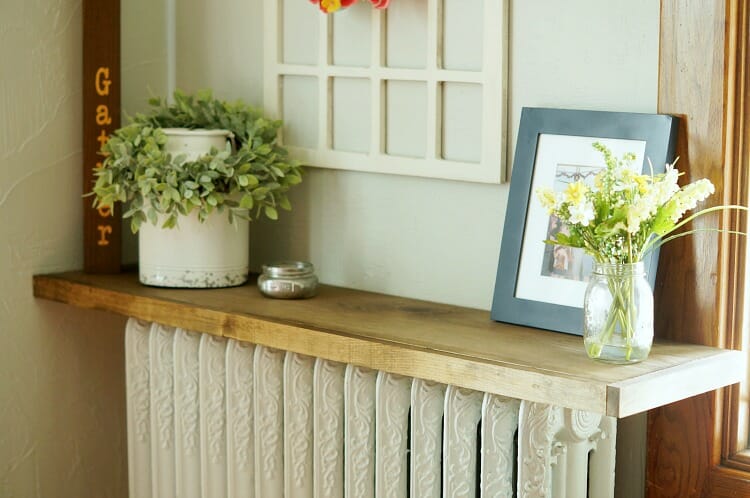
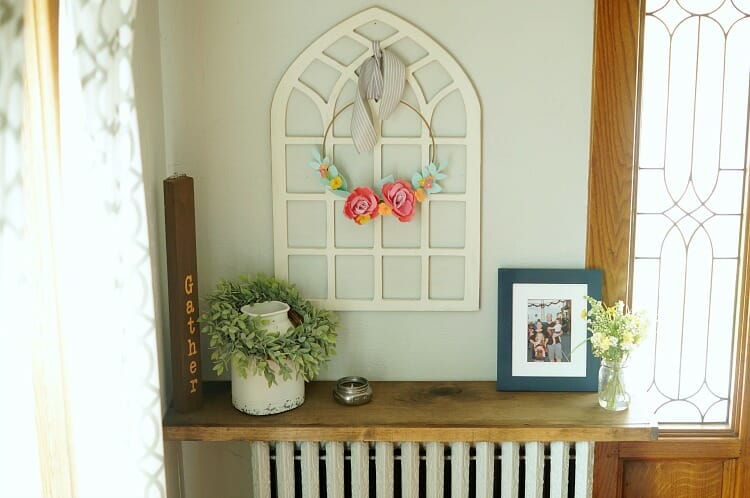
Here is the after! Easy DIY Radiator Shelf
DIY Floating Shelf
Radiator covers can be both beautiful and functional, but also super expensive since most need to be custom made! I knew that I wasn’t looking to go that route but knew that I could build a super easy shelf that would cover the unsightly top. And to be honest, this is a no build project! I didn’t need a hammer or nails, just strong wood glue!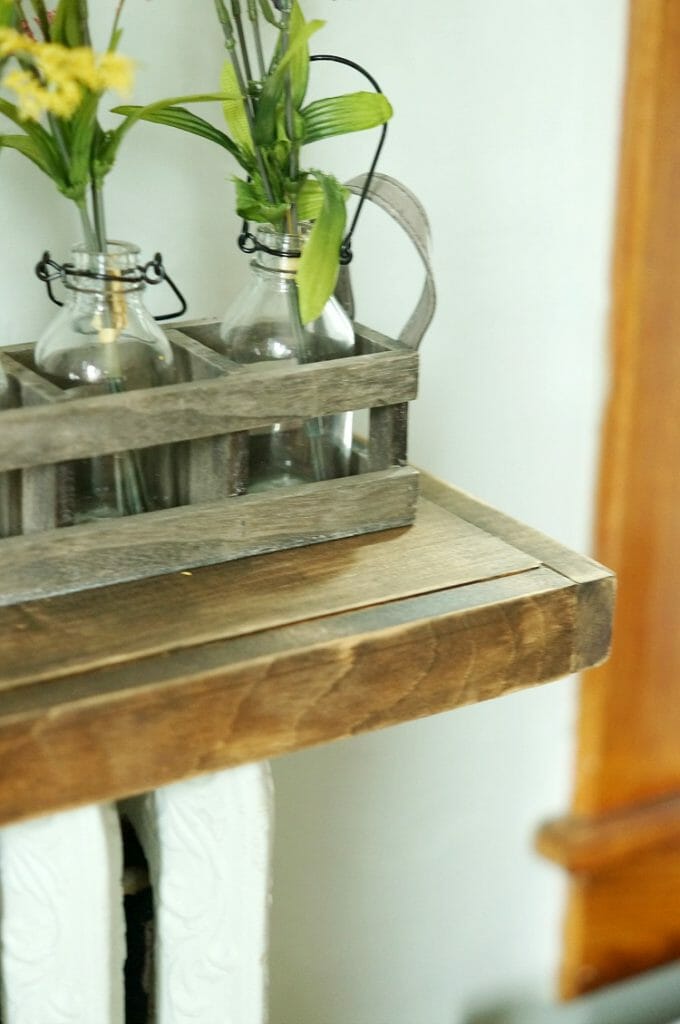
I love how the radiator shelf turned out in the foyer!
What do you need to build a radiator cover?
1 x 2 piece of wood
1 x 12 piece of wood….this size works for the width of my radiator, if you have a thinner unit, you could buy a 1 x 10 or 1 x 8
wood glue (I only use Gorilla Glue)
stain ( I used Minwax Dark Walnut)
foam paint brush or stain rag
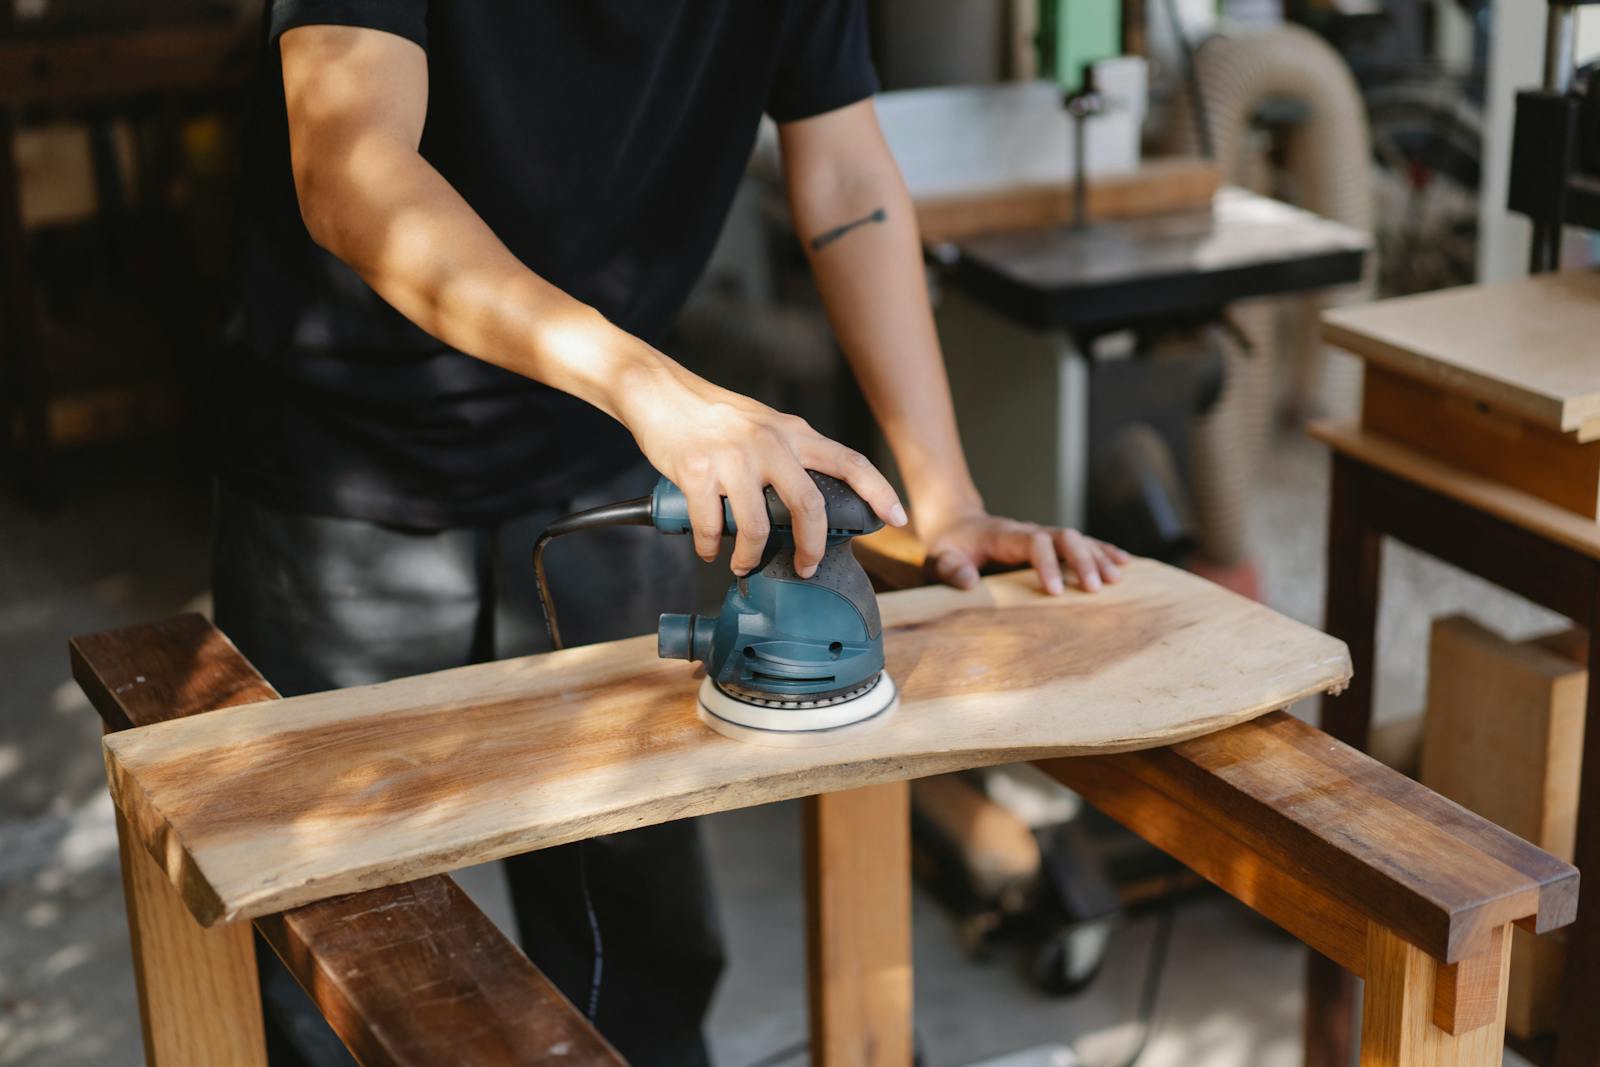
sand paper or hand held sander
How to build a DIY radiator cover shelf?
Measure the top of your radiator. Add 3 inches of overhang to both sides. Cut your 1 x 2 and 1 x 12 to that length.
Measure the side of your radiator from the front to the wall. Make sure to include the extra inch or so to cover the front piece of 1 x 2 on your shelf. Cut your remaining 1 x 2 into two pieces for the sides. (If you ask nicely, the people are Lowe’s or Home Depot will cut these pieces for you so go with measurements!)
Lay your piece of 1 x 12 top side down on the ground and lay the front and side pieces of 1 x 2 along the edges. Run a bead of glue alongside the edge and then press to the 1 x 12.
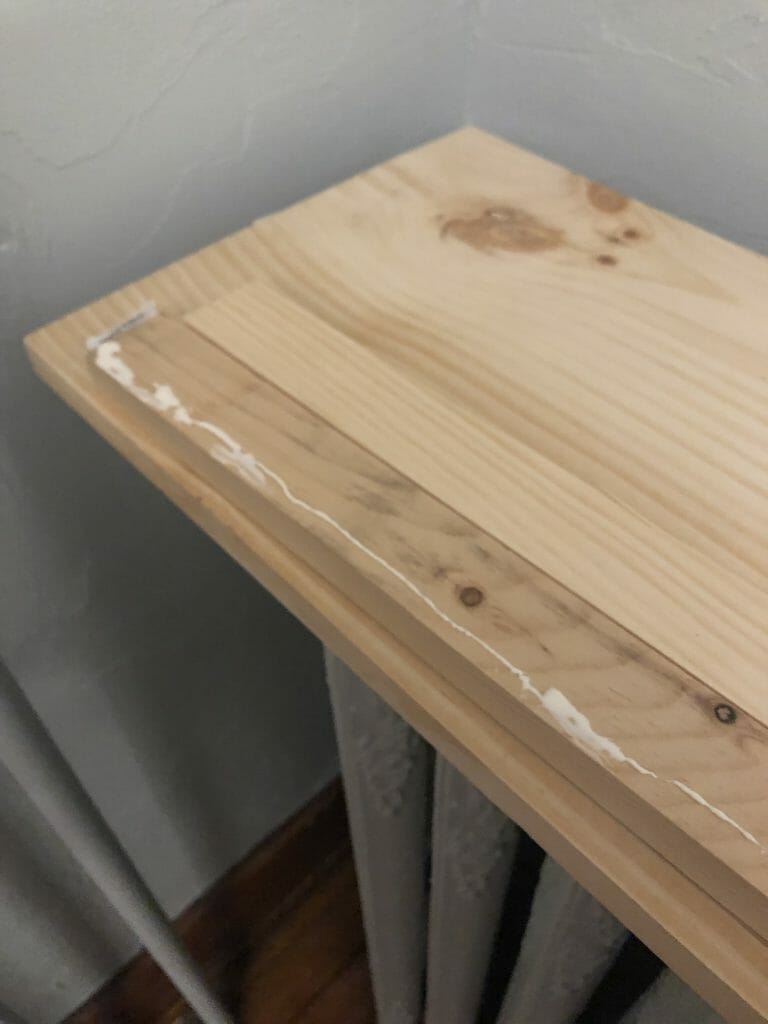
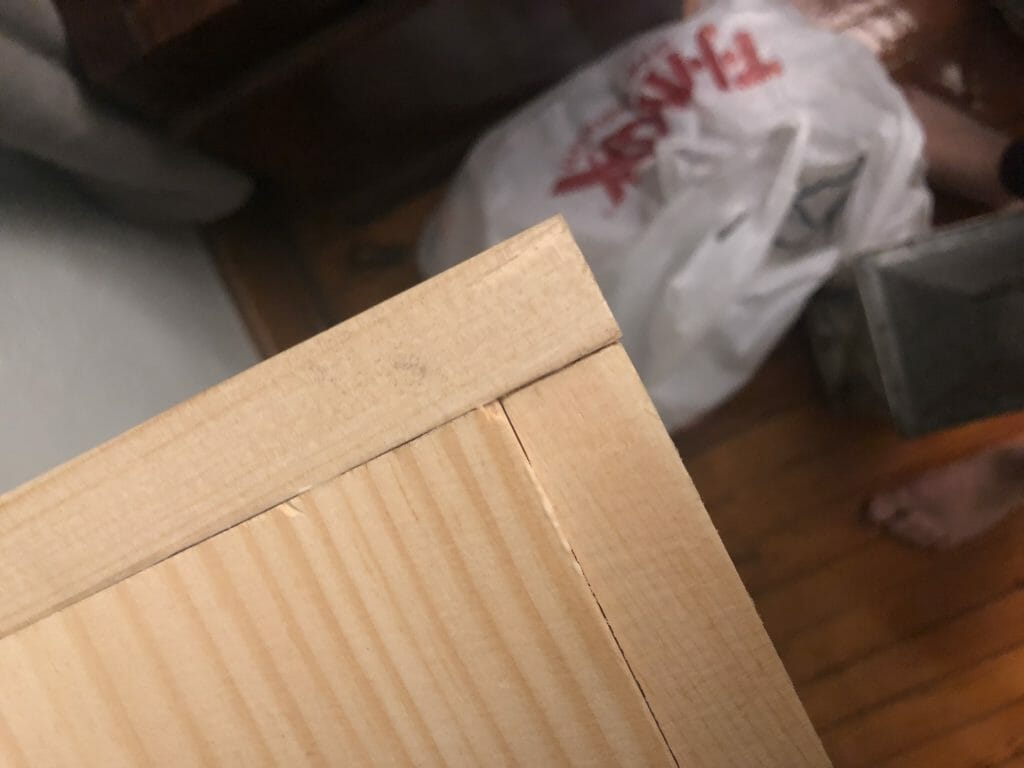
Let dry. You can use clamps or you can just stand there and hold the pieces together until they set.
Sand any rough edges on your wood and then stain. I recommend using Minwax stain and a rag to wipe on and off the stain. Let dry. If you want any distressed, take the sander to certain spots to rough it up.
Lay on top of your radiator and you are done! Easy peasy!
This project is so easy that it was hard to explain so please ask if you have any questions!
Looking for more easy DIYS?
Easy DIY Children’s Book Shelves
Easy DIY Pallet Clipboard Frame
DIY Wooden Wastebasket Cabinet
Affiliate links used in this post


Hi – do you need to affix the shelf somehow to wall or to radiators?
I did not! Mine sits securely on top and has never fallen off.
Is it okay when the radiator is on? I worry about it getting too got.
Yep! The wood doesn’t get hot at all!
What kind of wood did you use for this project? I’m worried about setting the house on fire 😹
I just used regular pine from lowes! The wood doesn’t even get hot when the radiator is on. My husband is an electrical engineer and he approved this project 🙂
Is yours a steam radiator? I’m new to having these and a renter and want to be cautious about safety 🙂 They’re taking up a lot of space and would love for this to work!
What I’m specifically asking is not just about the whole radiator getting warm, but about putting anything above the steam valve that puts out hot steam upward from the end of the radiator.
Hi Nicole, ours is not steam so we do not have any issues. I’m sorry I am not sure if it will be okay with steam!